How to Configure Google Calendar Booking in Agilux Engage Squad
How Configuration Actually Works (And Why You Should Care)
Look, I’ve watched too many AI implementation projects die because someone thought connecting a calendar would be “the easy part.” Spoiler: it’s never the easy part.

Here’s what typically happens. An agency tech lead spins up an AI agent to handle meeting bookings, everything looks great in testing, and then—within 72 hours of going live—you get double bookings, authentication timeouts, or (my personal favorite) an infinite loop where the agent keeps rescheduling the same meeting every 3 minutes. I’ve seen this exact scenario play out at least four times, and honestly, it’s always the calendar integration that breaks first.
This guide focuses specifically on backend plumbing: connecting Google Calendar API to Agilux Engage Squad through OAuth2, then making sure your AI agent can actually check availability and create bookings without causing chaos. We’re skipping high-level marketing promises and getting into actual configuration work.
Why bother with direct API integration instead of using something like Zapier? Two reasons that matter. First, latency. You can shave 2-4 seconds off each booking action when you’re hitting the API directly instead of bouncing through middleware. That doesn’t sound like much until you realize prospects drop off at alarming rates when they’re waiting for “the system to check availability.” Second, granular control. When you’re querying the free/busy endpoint directly, you can build custom logic around how the agent interprets “partially busy” blocks or handles timezone edge cases. You can’t really do that when you’re piping everything through a no-code tool.
Anyway, let’s get into it.
1. Preparing the Google Cloud Environment
Setting Up the API Project
You’ll want a dedicated project in Google Cloud Console just for your Agilux agent traffic. I know it seems like overkill (why not just add it to your existing workspace project?) but separating this out makes troubleshooting so much easier later. When you’re looking at API quota limits or debugging webhook failures at 11 PM, you don’t want to be sorting through logs that include every other service your company runs.
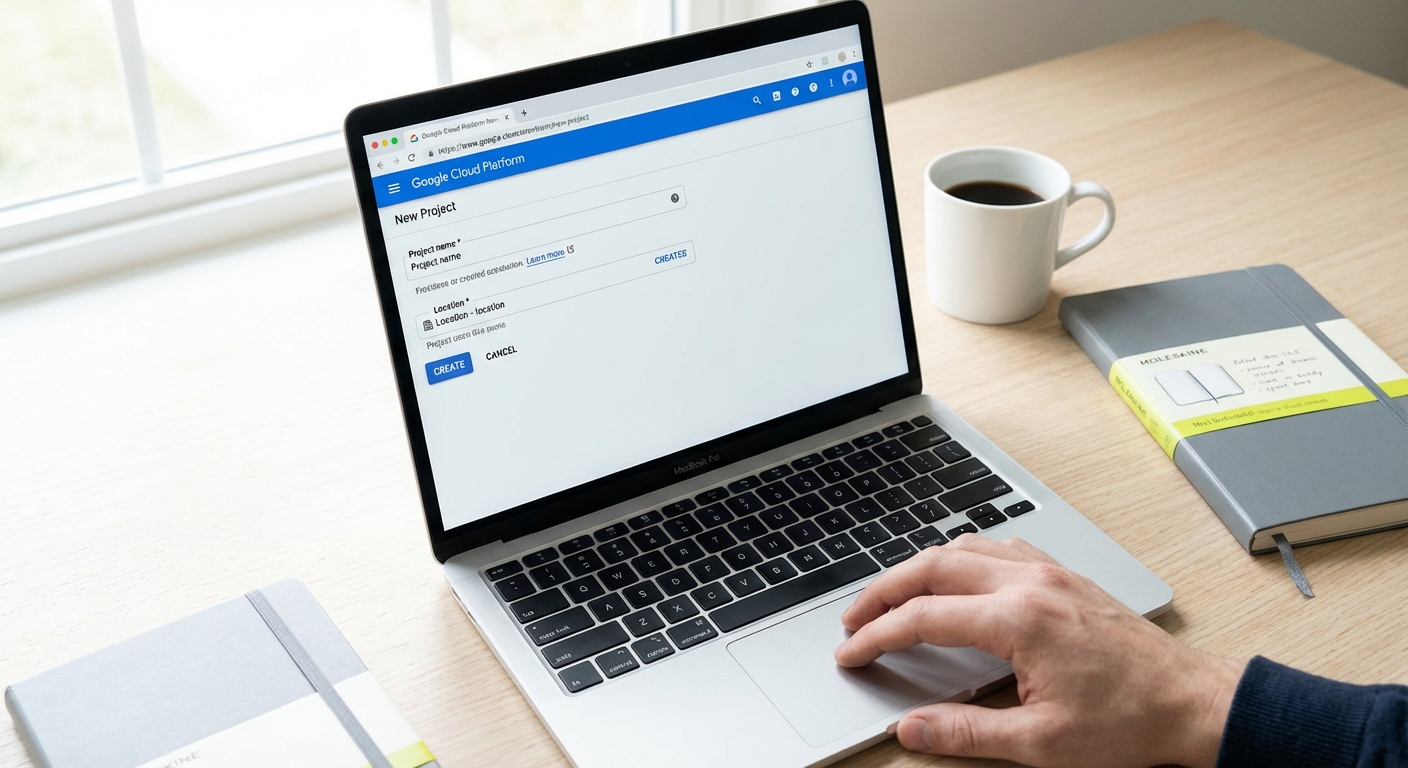
Head to Google Cloud Console, create a new project (name it something obvious like “Agilux-Calendar-Integration”), and then navigate to the API Library. Search for “Google Calendar API” and enable it. This part takes about 90 seconds. The waiting comes later.
Configuring OAuth Consent and Scopes
Here’s where it gets slightly annoying. You need to configure the OAuth consent screen before Google will let you generate credentials. You’ll pick either “External” or “Internal” user type. If you’re building this for an enterprise where all users are on the same Google Workspace domain, go with Internal. It simplifies things. If you’re an agency building this for a client who might have users outside their main domain (or if you’re testing with your personal Gmail), pick External.
Scopes are critical. You need:
- `…/auth/calendar.events` – this lets the agent create bookings
- `…/auth/calendar.readonly` – this lets it check availability via the free/busy endpoint
Don’t just grab `…/auth/calendar` (full access) because you’re feeling lazy. Yeah, it works, but it’s unnecessarily broad permissions and if you ever need to pass a security audit, you’ll have to redo this whole section. Ask me how I know.
Generating Credentials
Now you’re creating the actual OAuth 2.0 Client ID. Select “Web application” as the application type (even though Agilux is technically a backend service, the OAuth flow expects this setup).
Here’s the tricky bit: you need to specify authorized redirect URIs. Agilux expects something like `https://app.agilux.net/oauth/callback` (check the official Agilux appointment booking tutorial for the exact current URI, it’s changed once already since last year). Get this wrong and the OAuth handshake will just silently fail. You’ll waste an hour staring at “Authentication Error” messages.
Once you hit Create, Google gives you a Client ID and Client Secret. Copy both immediately. You won’t see the secret again without regenerating it.
2. Implementing OAuth2 Credential Swapping in Agilux
Accessing the Integration Module
Logging into your Agilux Engage Squad dashboard is straightforward enough. But finding the native integration settings? Less intuitive. It’s not under “Settings” or “Integrations” where normal humans would look. It’s actually nested under the agent configuration panel, then a submenu called “Connected Services.”
I mention this only because I’ve watched two different automation engineers waste 20 minutes clicking around before asking. UI isn’t bad, it’s just… not obvious.
Credential Input and Token Exchange
You’ll paste your Google Client ID and Client Secret into the respective fields in Agilux. Then you initiate what Agilux calls the “credential exchange,” which is basically starting the OAuth2 flow. This should pop open a Google authorization page where you (or the calendar owner) grants permissions.
Once you click Allow, you’re redirected back to Agilux. Behind the scenes, Google sends an authorization code, Agilux swaps it for an Access Token and Refresh Token, and stores both. Connection status indicator should change to “Active” with a green dot. If it doesn’t, something went wrong with your redirect URI (told you it was tricky).
Before moving on, verify that you can see the connected Google account’s email address displayed. That confirms the handshake actually completed.
3. Structuring the Free/Busy API Endpoint
Defining the Endpoint Logic
This is the step that separates functional calendar integrations from broken ones. Your AI agent needs to query `https://www.googleapis.com/calendar/v3/freeBusy` before it ever proposes a meeting time to a prospect. Otherwise, you’re just guessing whether the slot is available, which obviously results in double bookings.
The free/busy endpoint returns a JSON response showing which time blocks are already occupied. Your agent parses that, figures out the gaps (the “free” time), and only offers those to the prospect. Sounds simple. It’s not quite simple.
Constructing the JSON Payload
You’re sending a POST request to the freeBusy endpoint with a JSON body that specifies:
- `timeMin`: The start of your availability window (usually “right now”)
- `timeMax`: The end of your window (commonly 7-14 days out)
- `items`: An array containing the calendar ID(s) you’re checking, which is usually just the user’s email address
Here’s what trips people up: `timeMin` and `timeMax` must be in ISO 8601 format, and they need to be in UTC (or explicitly offset). If you pass something like “January 15, 2025 at 9am PST” as a raw string, the API just returns a 400 error. We’ll handle formatting in the next section, but you need to know upfront that this is where timezone problems start.
Parsing the Response
Google Calendar API returns a JSON object with a `calendars` property. Inside that, you’ll see a `busy` array listing all occupied time blocks. What you care about are the gaps between those busy entries, that’s when the calendar owner is actually available.
You need to configure Agilux to parse this response and map it into the agent’s context window. Essentially, the AI needs to understand “don’t offer times that fall within these busy blocks.” The Agilux Engage Squad product page mentions that the platform has built-in parsers for common calendar API responses, but you’ll still need to verify the logic is filtering correctly during testing. I’ve seen cases where partially-busy blocks (like a tentative meeting) weren’t being filtered out, and the agent offered times that were technically occupied.
4. Standardizing Time Data with ISO 8601 Formatting

This section is going to sound technical, but honestly, this is where most implementations break.
Handling Time Zones
Every time value you send to Google Calendar API needs to be normalized to UTC before transmission, even if your agent is operating in a different timezone. Why? Because the API doesn’t interpret local timezone strings consistently. It assumes UTC unless you explicitly provide an offset.
Let’s say your AI agent is helping someone in New York (EST, UTC-5) book a meeting. Prospect says “next Tuesday at 2 PM.” Your agent needs to convert that to `2025-01-21T19:00:00Z` (2 PM EST = 7 PM UTC) before querying the free/busy endpoint. If you forget this step and just send `2025-01-21T14:00:00Z`, you’re checking availability for 2 PM UTC, which is 9 AM EST. Completely wrong time.
I’ve seen this break in production more than anything else. Testing phase works fine because everyone’s in the same timezone, and then the first customer in a different region books a meeting at the totally wrong time.
Date-Time Syntax for Agilux
Agilux Engage Squad has a variable processor that can convert natural language time expressions into ISO 8601 strings. You’ll find it under the agent’s “Variable Transformations” settings. Syntax it expects is `YYYY-MM-DDThh:mm:ssZ` (the `Z` indicates UTC).
Set up a transformation rule that takes the conversation variable (e.g., `{{proposed_time}}`) and outputs a properly formatted ISO string. You can also configure offset calculations if your target calendar operates in a specific timezone. For example, if the calendar owner is always in PST (UTC-8), you can tell Agilux to automatically apply that offset before sending the API request.
Test this exhaustively. Use the Agilux simulator to run through bookings for times in the morning, afternoon, evening, and across midnight. I’ve caught so many edge cases during these tests, like the agent booking “11 PM tonight” but actually scheduling it for 11 PM the previous day because of a timezone conversion bug.
5. Configuring the Booking Webhook via Agilux
Setting Up the POST Request
Once your agent has confirmed a time slot with the prospect, it needs to actually create the calendar event. This is where you configure the Agilux webhook integration to call the `events.insert` method on Google Calendar API.
In the Agilux dashboard (still under Connected Services, probably), you’ll create a new webhook action. Endpoint URL is `https://www.googleapis.com/calendar/v3/calendars/primary/events`, and you’re making a POST request. Agilux handles the OAuth token automatically if your authentication is still active (remember that “Active” status from earlier).
Mapping Conversation Variables to API Fields
POST body for `events.insert` requires certain fields:
- `summary`: The meeting title. Map it to something like “Meeting with {{prospect_name}}”
- `description`: You can inject conversation context here, maybe a link to the prospect’s intake form or notes from the chat
- `start` and `end`: These need your ISO 8601 timestamps for when the meeting begins and ends
- `attendees`: An array of email addresses, usually just `[{“email”: “{{prospect_email}}”}]`
Agilux lets you build these mappings using variable interpolation. Make sure your variable names match exactly what the agent is capturing during the conversation (case-sensitive, of course, because why would software ever make things easy?).
Automation Logic
You need to tell Agilux exactly when to fire this webhook. Usually, it’s after the prospect confirms “Yes, that time works” or clicks a confirmation button. Configure this in the conversation flow builder by adding a webhook action as a node in the dialogue tree.
One nuance: you might want to add a brief confirmation message before firing the webhook (“Great, I’m adding that to the calendar now…”) because if there’s any delay or error, the prospect isn’t just sitting there wondering if their booking actually went through.
6. Managing Token Lifecycles and Error Handling
Automating Token Refreshes
Access tokens expire. Google’s typically last about an hour. If your Agilux agent tries to create a booking after the token expired, the API returns an HTTP 401 Unauthorized error.
Good news: Agilux can handle this automatically if you’ve enabled token refresh in your OAuth configuration. When it gets a 401, it uses the Refresh Token to request a new Access Token from Google, then retries the original API call. This happens transparently without requiring the calendar owner to re-authenticate.
But, and I stress this because I’ve debugged this exact issue, you need to verify that Agilux has stored the Refresh Token correctly. Some OAuth flows only return the Refresh Token on the very first authorization. If you’ve been testing repeatedly and re-authorizing, Google might not send a new Refresh Token, and your integration will fail in production after an hour. Fix is to revoke the app’s access in Google account settings, then re-authenticate from scratch.
Handling Booking Conflicts
Sometimes the API returns a 409 Conflict error. This happens if the calendar slot got filled between when your agent checked availability and when it tried to create the booking. Rare, but it happens, especially if the calendar owner is manually adding events at the same time.
You need fallback logic. Agent should catch the 409 error, acknowledge it conversationally (“Looks like that time was just taken, let me find another option”), and immediately query the free/busy endpoint again to propose alternative slots. Don’t just fail silently or show a generic error message. I’ve seen implementations where a 409 causes the entire conversation to break and the prospect has to start over. Unacceptable.
7. Verification and End-to-End Testing
Simulating the User Journey
Agilux has a built-in conversation simulator that lets you test the agent’s dialogue flow without involving real prospects. Use it. Run through the entire booking process: agent greets, asks about availability preferences, queries free/busy, proposes times, gets confirmation, fires the webhook, and confirms the booking.
Watch specifically for these failure points:
- Does the agent correctly skip over busy time blocks?
- Does it handle “I’m flexible” responses without breaking?
- If you say “no, that doesn’t work,” does it offer alternatives without re-checking the same unavailable slots?
- What happens if you book the last available slot in the window?
During one test, I noticed an agent kept offering the same time over and over because its logic wasn’t removing confirmed bookings from the available pool. Fixing that took five minutes, but catching it before launch saved probably dozens of frustrated prospects.
Auditing the Payload
After a test booking, check two places. First, open the actual Google Calendar and inspect the created event. Does it have the correct time, title, and attendee email? Is the description field populated with expected context? Are there any weird formatting issues (like HTML tags showing up raw)?
Second, look at webhook execution logs in Agilux. These show the exact JSON payload sent to Google and the API response. If there are latency spikes or syntax errors, they’ll show up here. I once found a configuration where every booking was taking 8+ seconds because the webhook timeout was set absurdly high and Agilux was waiting for a response that came back in 400ms. Tweaking that setting dropped booking latency to under 2 seconds.
One more thing: simulate failures intentionally. Revoke the OAuth token mid-conversation and see if the refresh logic actually works. Try booking during a Google API outage (okay, you can’t simulate that, but at least plan what the agent should say if it gets a 503 error). Difference between a decent implementation and a robust one is how gracefully it handles edge cases.